
2. Sourdough Pretzel Bites
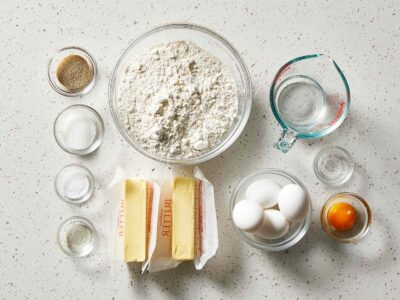
• 1 cup active sourdough starter
• 1/2 cup lukewarm water
• 1 tablespoon granulated sugar
• 2 1/2 cups bread flour
• 1 teaspoon salt
• 1/4 cup baking soda
• Coarse salt, for sprinkling
• Optional: melted butter for brushing
• Activate your sourdough starter: If your starter has been in the fridge, take it out and let it sit at room temperature for a few hours or until it’s active and bubbly.
• Mix the dough: In a large mixing bowl, combine the active sourdough starter, lukewarm water, and sugar. Stir until the sugar is dissolved. Gradually add the bread flour and salt, stirring until a soft dough forms.
• Knead the dough: Transfer the dough to a lightly floured surface and knead it for about 5-10 minutes until it becomes smooth and elastic. If the dough is too sticky, you can add a little more flour as needed.
• First rise: Place the dough back into the bowl, cover it with a clean kitchen towel or plastic wrap, and let it rise at room temperature for 4-6 hours, or until it has doubled in size. You can also do this step overnight in the refrigerator for a longer, slower rise.
• Shape the pretzel bites: After the first rise, punch down the dough and divide it into small pieces, about 1-inch in diameter. Roll each piece into a ball and place them on a parchment-lined baking sheet, leaving a little space between each one.
• Second rise: Cover the shaped pretzel bites with a kitchen towel or plastic wrap and let them rise for another 1-2 hours, or until they have puffed up slightly.
• Preheat the oven: About 30 minutes before baking, preheat your oven to 425°F (220°C). Bring a large pot of water to a boil and add the baking soda.
• Boil the pretzel bites: Working in batches, carefully drop the pretzel bites into the boiling water and let them cook for about 30 seconds, flipping them halfway through. Remove them from the water using a slotted spoon and place them back on the baking sheet.
• Sprinkle with salt: Sprinkle the boiled pretzel bites with coarse salt while they are still wet from the water bath.
• Bake the pretzel bites: Place the baking sheet in the preheated oven and bake for 12-15 minutes, or until the pretzel bites are golden brown and crispy on the outside.
• Optional butter topping: If desired, brush the baked pretzel bites with melted butter for added flavor and shine.
• Cool and enjoy: Once baked, transfer the pretzel bites to a wire rack to cool slightly before serving. Enjoy your tangy sourdough pretzel bites as a tasty snack or appetizer!
• Feel free to customize your sourdough pretzel bites by adding different toppings like sesame seeds, poppy seeds, garlic powder, or grated cheese before baking.
1)Do the window-pane test. Take a small amount of dough and stretch it between your fingers. If you can stretch it to the point where it’s thin enough to see through, then it is ready.
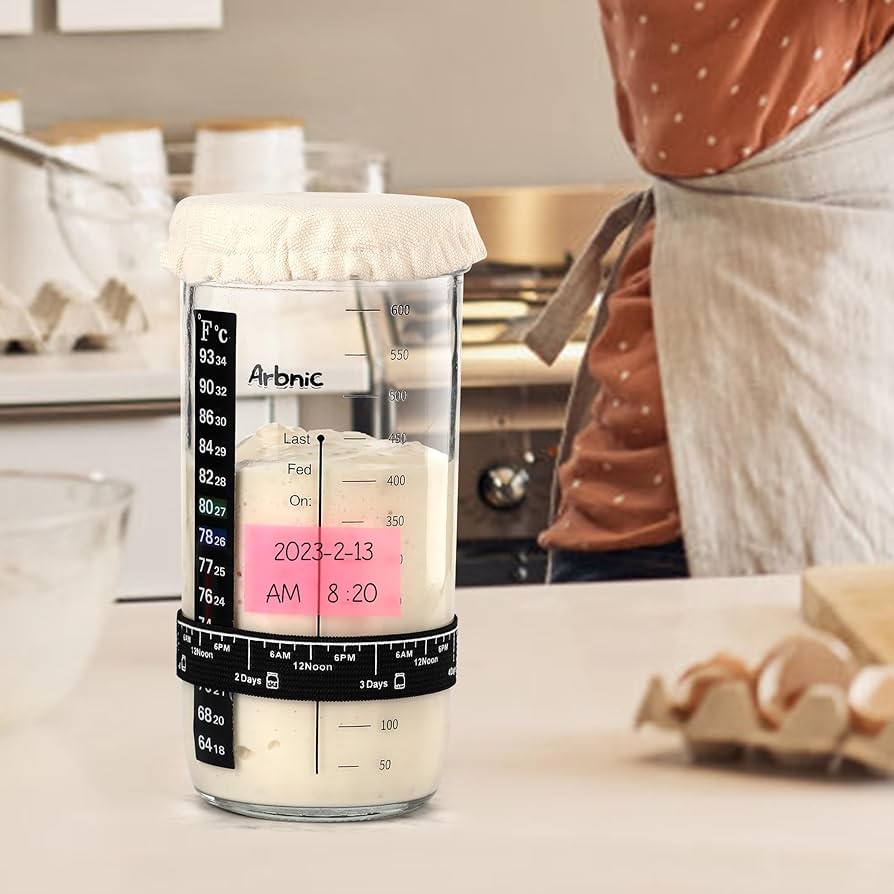
2)Use an active sourdough starter so the dough will rise well.